


Tesla repair scanning is a critical process that utilizes specialized tools to diagnose and fix issues within Tesla vehicles' complex electrical systems, especially after battery compartment repairs. It starts with connecting a diagnostic scanner to the OBD-II port for error code retrieval and data from various systems. This ensures precise adjustments and replacements post-repairs. Regular auto detailing alongside scanning maintains both aesthetic appeal and mechanical integrity. Specialized Tesla repair scanning tools are essential for accurate identification of issues in critical components, enhancing safety and performance. A comprehensive post-repair scan is crucial to ensure all systems operate seamlessly after battery compartment repairs, leading to an optimal driving experience.
Tesla vehicles, renowned for their advanced technology, require meticulous care after repairs, especially in crucial areas like the battery compartment. This is where Tesla repair scanning plays a pivotal role, ensuring optimal performance and safety. The process involves specialized diagnostic tools that scrutinize intricate electrical systems post-repair. Given the high-tech nature of Teslas, accurate scanning is essential to identify any anomalies and ensure these electric vehicles operate seamlessly.
In this article, we’ll explore the fundamentals of Tesla repair scanning, delve into why battery compartment repairs demand specialized attention, and provide a comprehensive guide to effective post-repair scanning procedures.
- Understanding Tesla Repair Scanning: The Basics
- Why Battery Compartment Repairs Require Specialized Scanning
- Step-by-Step Guide to Post-Repair Scanning Procedures
Understanding Tesla Repair Scanning: The Basics
Tesla repair scanning is a crucial process that involves using specialized tools to diagnose and address issues within a Tesla vehicle’s complex electrical system. After repairs to the battery compartment, this procedure becomes even more critical as it ensures the safety and optimal performance of the car’s high-voltage components. The process begins with connecting a diagnostic scanner to the vehicle’s OBD-II port, which serves as a gateway to its internal computer systems. This scanner then communicates with the vehicle’s onboard diagnostics, retrieving error codes and data related to various systems, including the battery pack and power electronics.
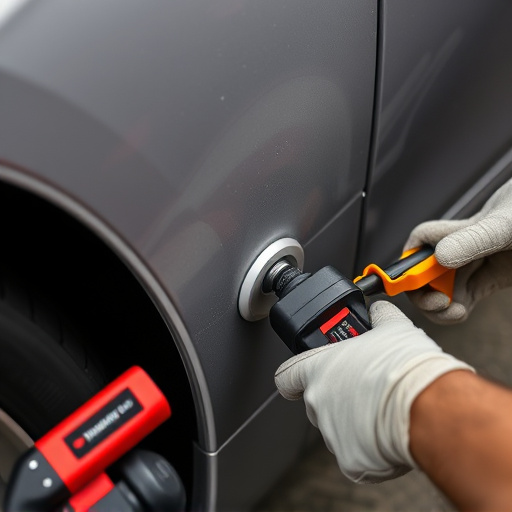
By interpreting this information, technicians can identify any faults or anomalies that may have been caused by the previous repair work. It allows for precise adjustments and replacements, ensuring that every component is functioning harmoniously. Regular auto detailing and car restoration practices are also beneficial in conjunction with Tesla repair scanning, as they maintain the vehicle’s aesthetic appeal while the scanner ensures its mechanical integrity and safety features remain top-notch. Ultimately, this comprehensive approach to car repair services guarantees that Tesla owners receive reliable and efficient solutions for their high-tech vehicles.
Why Battery Compartment Repairs Require Specialized Scanning

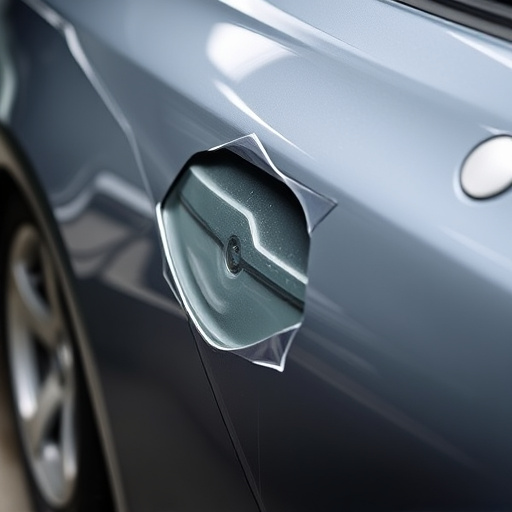
Tesla battery compartments house critical components, making repairs a delicate process that necessitates specialized scanning techniques. Unlike routine auto dent repair or even car body restoration, battery compartment fixes demand precision to avoid compromising the electric vehicle’s safety and performance. Scanning plays a pivotal role in identifying any residual issues within the intricate network of wires, sensors, and modules after physical repairs are completed.
Specialized Tesla repair scanning tools analyze sensor data, pinpointing potential problems that might go unnoticed during visual inspections alone. This meticulous process ensures that the vehicle’s advanced driver-assistance systems (ADAS) function optimally, maintaining the safety features for which Teslas are renowned. Moreover, accurate scanning enables technicians to address any lingering technical glitches, ultimately providing owners with a reliable and secure driving experience.
Step-by-Step Guide to Post-Repair Scanning Procedures
After completing repairs on a Tesla’s battery compartment, following a meticulous step-by-step process for scanning is paramount to ensure optimal performance and functionality. Begin by locating the vehicle’s diagnostic port, usually found beneath the steering wheel or in the trunk. Next, connect a compatible Tesla scanning tool to this port, ensuring it’s recognized by the car’s system. Initiate a full system scan, allowing the device to check for any error codes or faults across all components, including the battery pack, motor controllers, and power electronics.
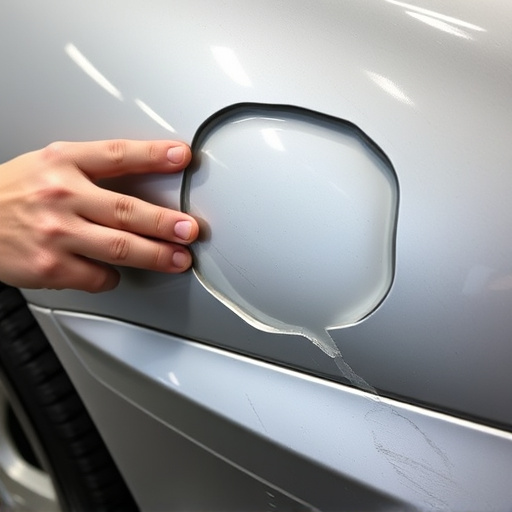
Compare these findings with pre-repair diagnostics for discrepancies. If issues persist, investigate further using specialized tools to pinpoint the problem, whether it’s related to car paint services (for cosmetic repairs affecting sensors) or tire services (impacting wheel alignment). Ultimately, a thorough post-repair scan helps verify that all systems are functioning seamlessly, setting the stage for an enjoyable and efficient Tesla driving experience within an esteemed auto repair shop.
Tesla repair scanning, particularly after battery compartment repairs, is crucial for ensuring the vehicle’s optimal performance and safety. Given the intricate nature of electric vehicles, specialized scanning tools are essential to accurately diagnose and address any issues that may arise post-repair. By following a meticulous step-by-step guide, Tesla owners and mechanics can effectively navigate the post-repair scanning process, fostering a seamless transition back to efficient driving.